Creating a News or Featured Profile Article
Follow the steps and illustrations below to create a News Article. These instructions also apply to
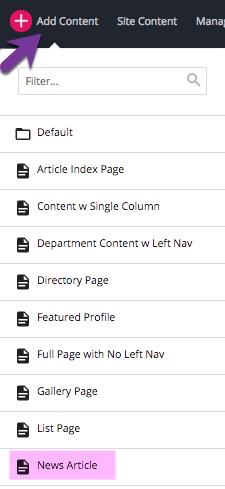
- From the Menu bar, click Add Content and then select "News Article".
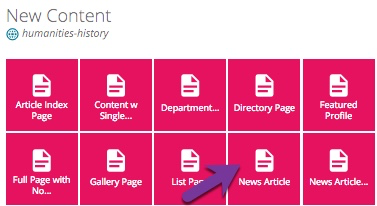
- OR on your Dashboard, under New Content, select the News Article.
You are now ready to create a new page and begin adding content. See below for a visual of the News Article creation page.
-
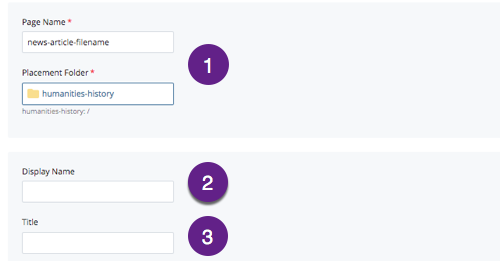
Enter the Page Name and browse to Placement Folder - The page name is the file name for your page. This is what displays in the URL. The format for the system name is:
-
All lower case text
-
No spaces or punctuation
-
Short keywords
-
Use "-" (dash) to separate words
-
-
Enter the Display Name - The display name is what will be displayed in the left navigation bar and the breadcrumbs.
-
Enter the Title of the News Article - The title displays on the page as the title across the top of the page.
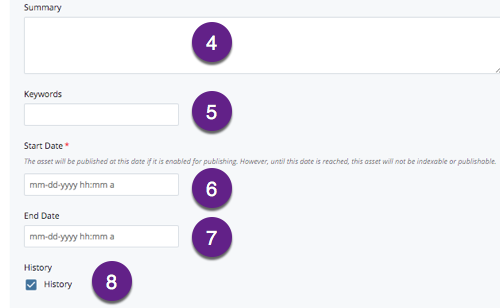
- Enter the Summary - The summary will appear on your News index page next to the thumbnail - please keep this short and sweet.
- Enter the Keywords - Google will use the keywords for searches.
-
Enter the Start Date - The Start Date is the date of the article and it is required. This date will appear under your article title and on your index page as well.
- Enter the End Date (optional) - The End Date is not required. Leave it blank if you want your article to appear indefinitely.
-
Leave the checkbox checked.
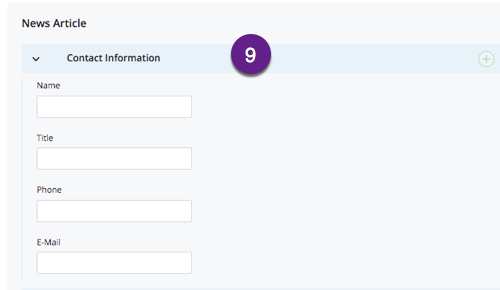
- Enter the News Article Contact Information (optional). This is where you would place contact information for the author of the article. This is NOT required. If there is a Name and E-Mail address entered, the name
will be an email link.
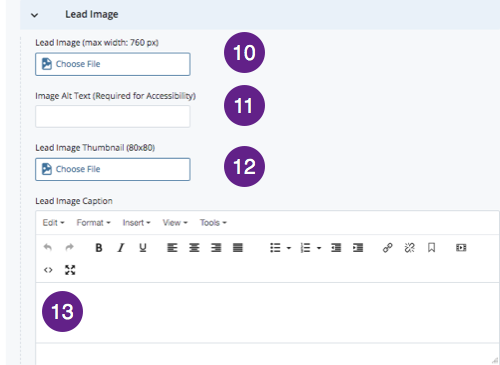
- Insert the Lead Image - The Lead Image is the first image for your article.
- Insert Alt Text for the Lead Image - This is required for accessibility.
- Insert the Lead Image Thumbnail - The Lead Image Thumbnail should be 80 x 80.
- In the Lead Image Caption area, insert the caption you want to appear under your lead image.
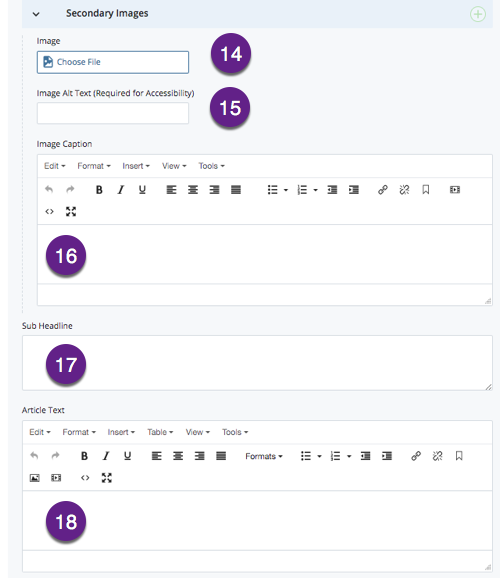
- You can also add one or more secondary (or more) images to the News Article. These images will appear stacked down the right side of your news article page.
- For each Secondary Image, Insert Alt Text - This is required for accessibility.
- Insert a caption for the Secondary Image.
- Insert a Sub Headline (optional) - The Sub Headline is NOT required. The Sub Headline appears just below your article title. This is different than the article summary.
- In the Article Text area, enter the body of the News Article
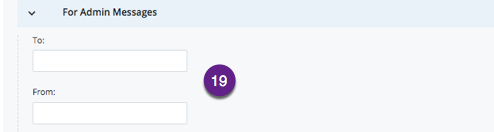
- The 'For Admin Messages' area is only for the campus
news group .
- Click "Preview Draft".
- Click "Submit" and then Publish the page.
 NOTE: When inserting images on your page adding lead images and thumbnails to your article, you'll be prompted to add an "alt text" for accessibility. This text does not appear anywhere on your page. It is used for screen readers, used by the visually impaired. Text entered here should be a short, descriptive sentence describing the image.
If you put in an end date for your article, at the next publish of the news index page after that date, the article will no longer appear on the news index page but it is still published.
You will also receive reminder emails that it will expire. Most people do not enter an end date for their article.
See Also
