Working with Tables
This page describes how to use tables in the Campus WCMS.
On this page:
Important Accessibility Notes:
Tables should not be used for design/layout purposes. This is because, without care and correct labeling, they are not accessible for people who use assistive technology such as screen readers. They also create other design problems. Our built-in styles make it difficult to use tables for design/layout purposes, so it will be frustrating for those who try to use them in this way.
Tables are more useful for tabular data (rows and columns of information), but even then, it is best to keep them simple. In some cases, the List Page is a more graceful way to organize data than a table.
Accessibility Check!![]() For any table inserted on your page, you must enter "alt text" for accessibility purposes. You should also set the Header Row Scope.
For any table inserted on your page, you must enter "alt text" for accessibility purposes. You should also set the Header Row Scope.
Inserting a Table
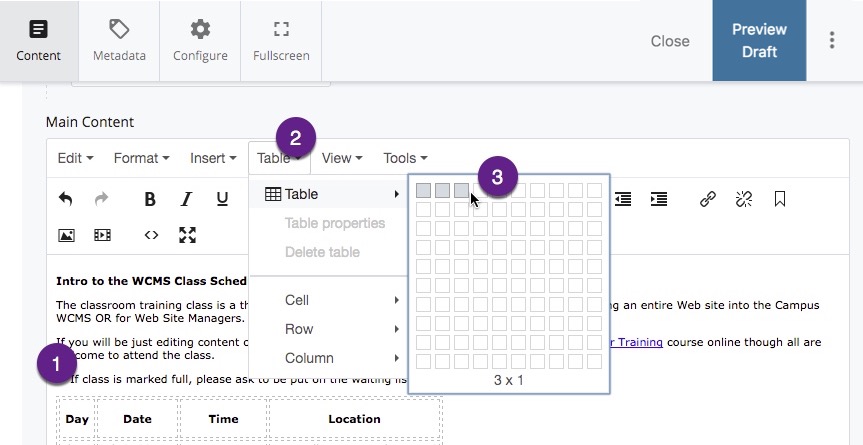
1.) On the page where you want to insert a table, click "Edit" and put your cursor where you'd like your table to be.
2.) Click the "Table" tab
3.) Select the number of columns and rows.
(Don't worry, you can always add or remove rows and columns at any time)
On the "Advanced" tab, enter a description of your table in the "Summary" field. This is important for accessibility purposes and is required by the system.
Cellpadding and Cellspacing are set by the style sheets so there is no need to enter anything in those fields.
In the WYSIWYG editor, fill in your table with data. Note that you can bold text using the standard WYSIWYG tools. You can also change the size of the table by clicking on it and dragging the sides.
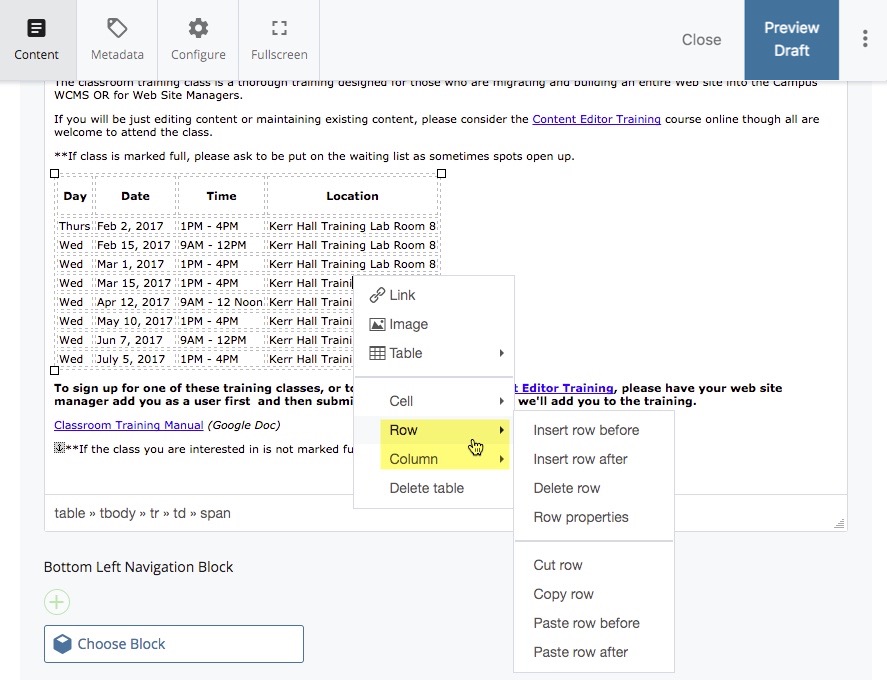
Many functions can be accomplished easily by right-clicking (control-click on a Mac).
Click "Preview Draft" and then "Submit".
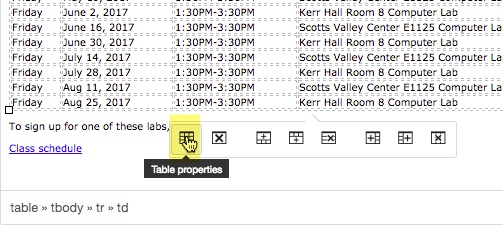
For accessibility reasons, tables should be captioned. To insert a caption, follow these steps:
- Click on the table and click the "table properties" icon:
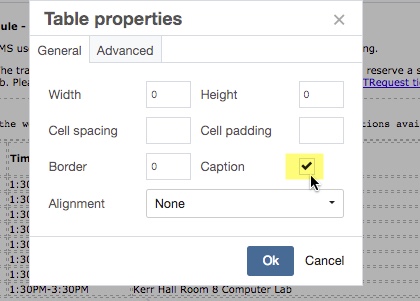
- In the dialog box that appears, check the box for table captions and then click "Ok":
- A table row appears above the table. This is where you type your caption. The caption should describe what the table contains:
- This is how your caption displays on your page after you publish it:
Setting Header Row Scope:
![]() Setting the scope of your table columns is an important accessibility component. By setting the scope value in your table's header row, you inform screen reader software what that column is used for. This means that people using screen readers can use your table much more easily because they will now know what kind of data to expect in each column.
Setting the scope of your table columns is an important accessibility component. By setting the scope value in your table's header row, you inform screen reader software what that column is used for. This means that people using screen readers can use your table much more easily because they will now know what kind of data to expect in each column.
Instructions:
-
After inserting your table, highlight the cells in the top row
-
Right click on the highlighted area (Command + click for Mac users)
-
On the right-click menu, select "Cell" and then "Cell properties"
-
Change the "Cell Type" setting from "None" to "Header cell"
-
Set the "Scope" value to "Column Group" or "Row Group":
- Use "Column" if the headers go across the top of your table, with the data going down in columns
- Use "Row" if the headers go down the side of your table, with the data going across in rows
| xx | xx | xx |
| xx | xx | xx |
See Also
