Adding Links to the Left Nav
External Links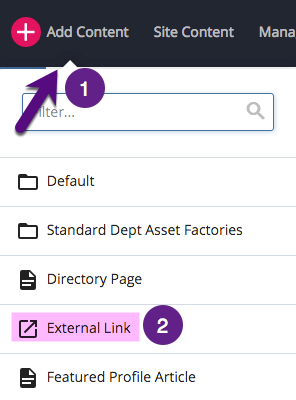
Reference Link
File Links
Sub-Menus
External Link

External links can be placed in your directory (folders) so they can show up in your left navigation bar (e.g., “UCSC Maps” is not a History page but they chose to place this useful link in their left navbar).
To add an external link, from your home page:
-
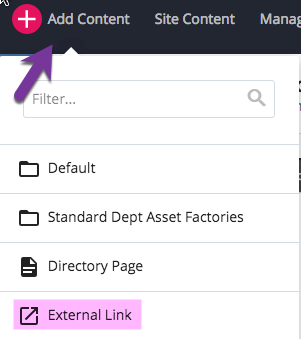
Go to Add Content
- Click External Link
-
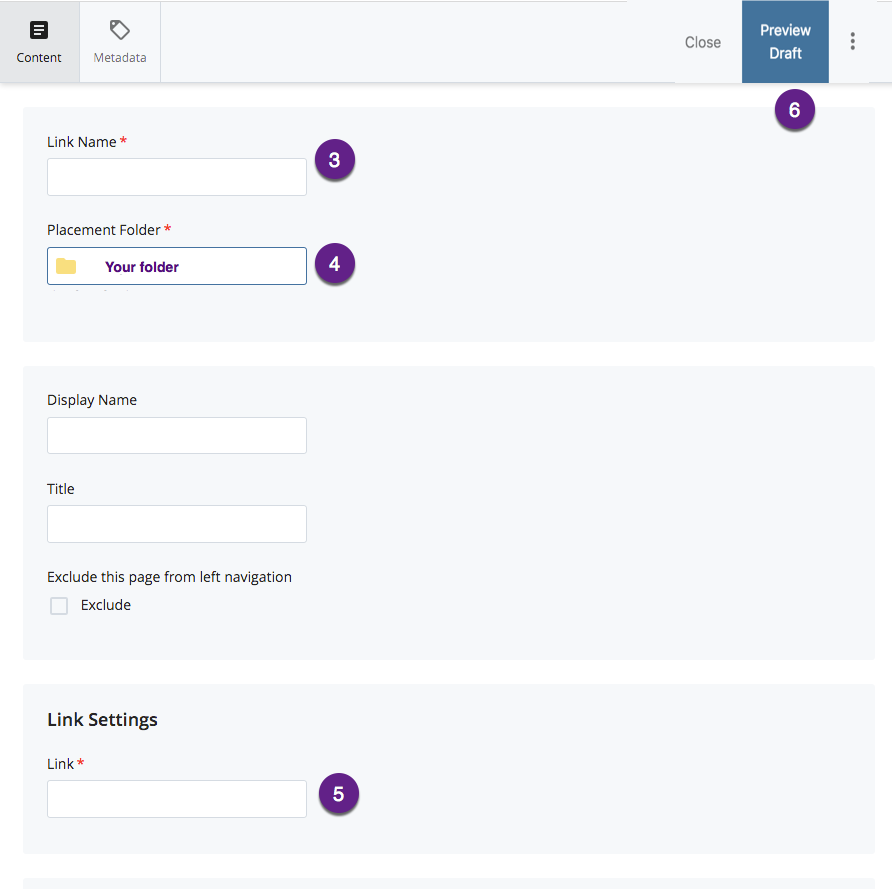
Enter a "Link Name" (this is the System Name)
-
Navigate to the folder in which you want the link to appear in the left navbar
-
Type in the link address
-
Click “Preview Draft”
- Click "Submit"
Be strategic about which links you would like to appear in the left navigation. External Links are different than creating a hyperlink in your Web page because the link resides in your folder structure as an asset.
Reference Link
A reference is a link in your left navigation that points somewhere outside the current folder. You might use this to cross-reference an important page that lives in one place, but users might look for it in another. Reference links are only used
To create a reference link:
-
Click on the page that you want to reference (the target page). This page must be indexed and published.
-
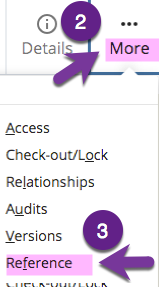
Click the "More" tab
-
Click "Reference"
-
Change the system name to something like "reference-xxx".
-
Click on the Parent Folder and browse to the folder in which you want the page to appear in the left navigation.
-
Click "Choose" and then click "Submit" to view your changes.
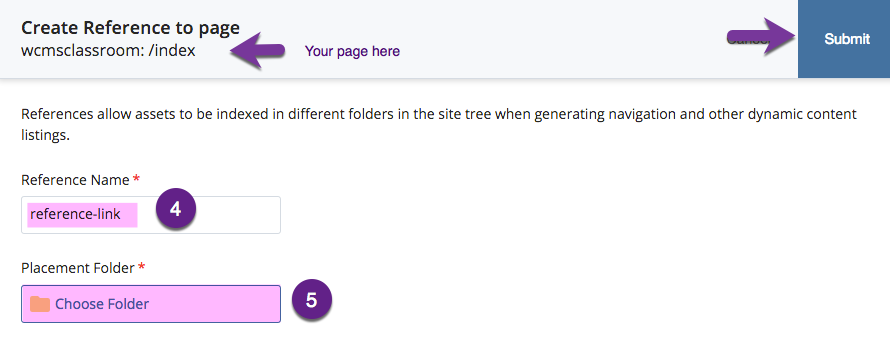
The reference then appears in that folder and looks like this:
![]()
NOTE: You can't edit a reference link. You must delete it and recreate it.
Linking to a FILE in Your Left Navigation
To make a file (PDF, image, doc, etc.) appear in your left nav, follow the following steps:
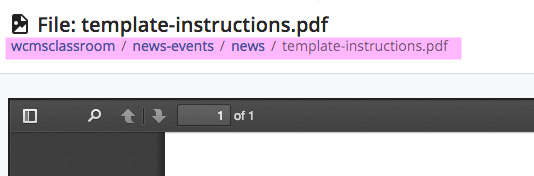
1. Upload the file into the WCMS and note the address of the file at the top of the screen (copy this location):
2. Create a new EXTERNAL LINK
3. In the External Link creation form, fill out the fields like this (remember, system name is the URL and the Display Name is how it will appear in your left nav) Also be sure the "Parent Folder" is the folder in which you'd like the left nav changed.
4. Copy the link address of the file into the "Link" field.
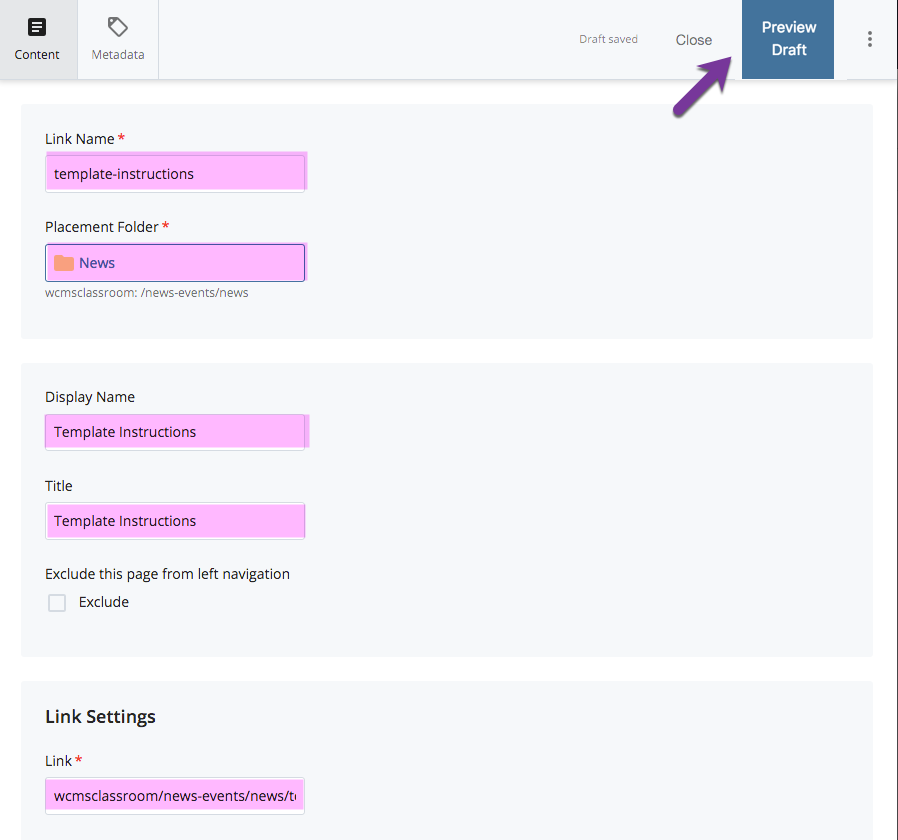
5. Click "Preview Draft" then click "Submit".
6. Republish the folder in which the link will appear
Adding Sub-Menus to Your Left Navigation
Sub-menus are created by adding a folder inside your folder.
Once a folder and pages are added, the sub-menu items automatically appear with bullets.
Remember, whenever you add a new folder, the first page you place in that folder needs to have a page name (old system name) of "index"
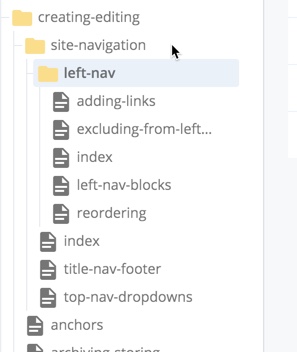
A left navigation that looks like this on the site...
...looks like this in the folder structure of your site in the WCMS: